apartment

LOCAL, LIFE, DIY

LOCAL II Compass Coffee Spotlight

Happy Saturday! I'm continuing my new D.C. local biz series with one of my favorite coffee shops in the city--Compass Coffee!

My Compass Coffee soy latte from a coffee break earlier this week.

My Compass Coffee soy latte from a coffee break earlier this week.

I'm actually sipping some of their coffee right now that I brewed this morning. I  love the vibe and design of their brand, but what keeps me coming back is their delicious coffee. I make a lot of coffee at home, usually a big batch of cold brew that I use throughout the week, and their coffee is great no matter where you make it/how you brew it.

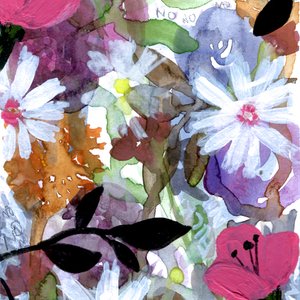
I painted their 7th Street location, which is the original and the place they roast their coffee. It's a lovely location, but if it's not near you, there are now so many options for you to get your caffeine fix from Compass. They have a bunch of other locations AND their coffee is served in a lot of other local businesses, like Union Kitchen Grocery and Buttercream Bakery.

If you do have a chance to go to one of their locations, I highly recommend their nitro cold brew coffee. I honestly haven't had anything like it elsewhere. It's the perfect light coffee for a warm day and since it's cold brew, it lacks the acidity or bitterness of traditionally brewed coffee, which keeps my stomach happy.

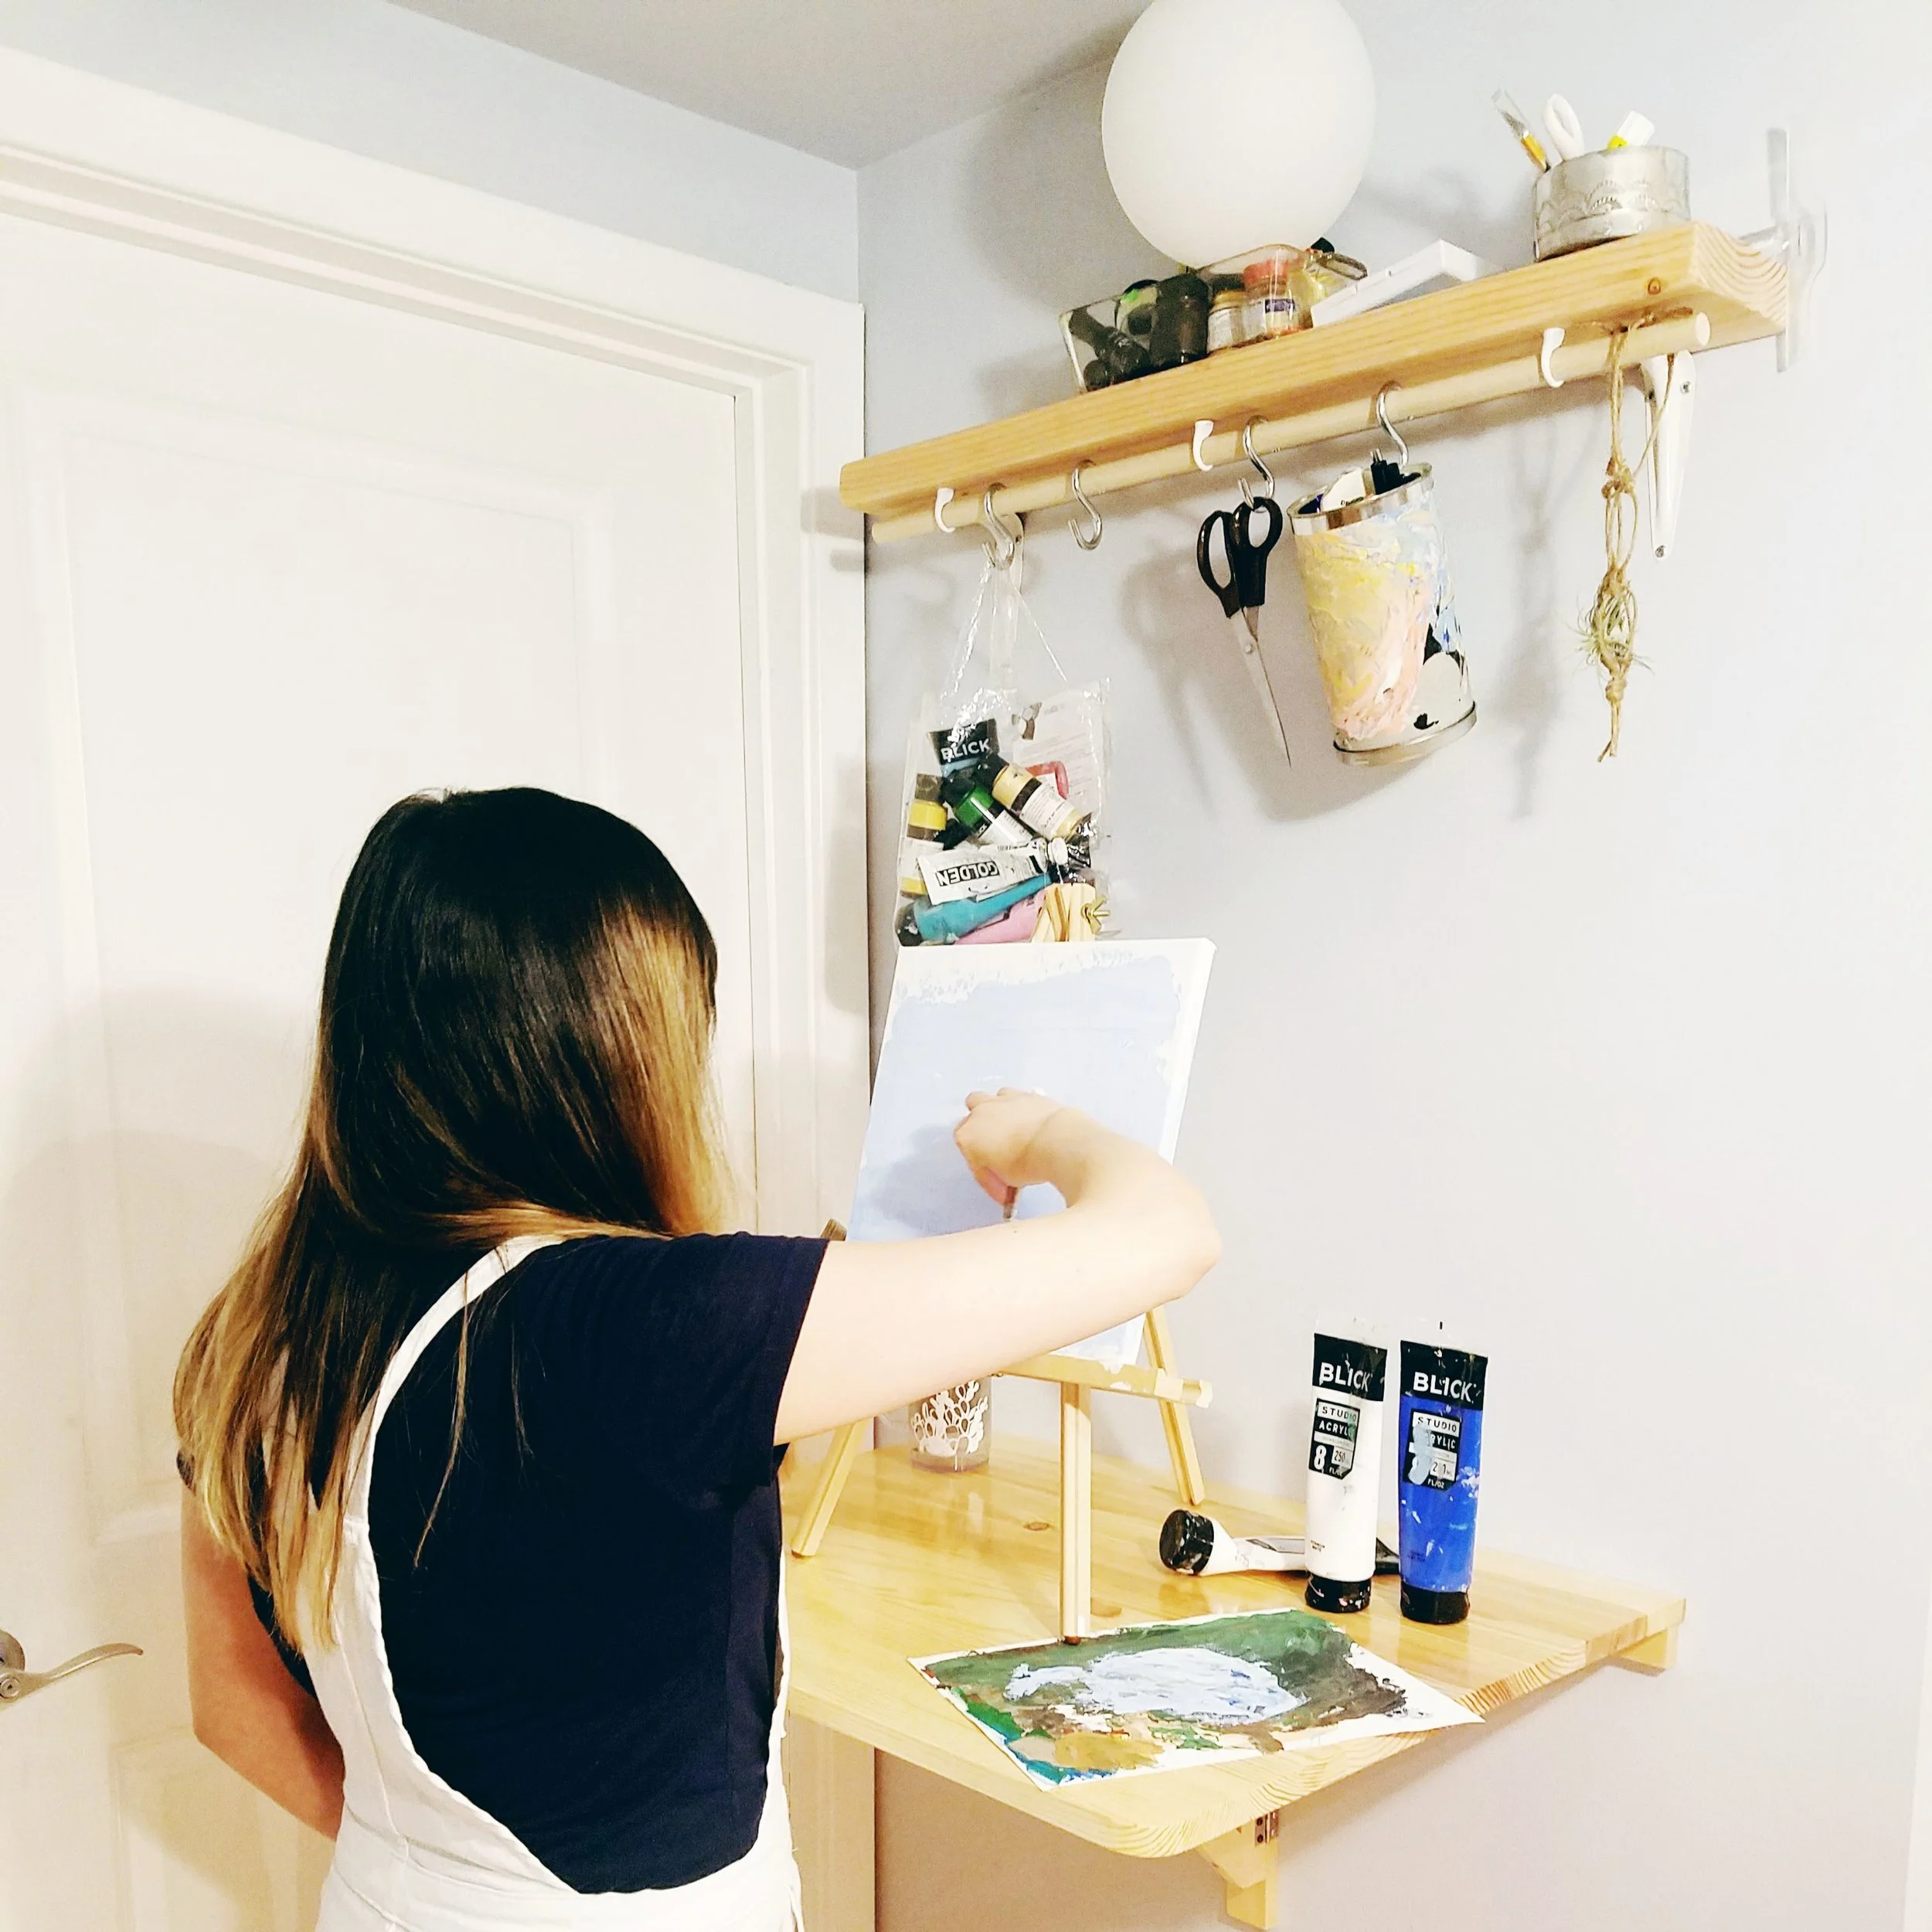
If you're like me and like to brew your own coffee at home, they have fantastic coffee and a helpful labeling system so you can choose the coffee that most suits your taste. I am also a little obsessed with their canisters and have a small collection of them that I re-use for all kinds of things, including pen holders (you can actually see one hanging in my art area post--I've just covered it in old paint palettes) and planters. This picture is from a few months back, but you can see my little plants growing happily in their Compass Coffee canisters.

Desert 2 District Design II Compass Coffee canister window garden

Desert 2 District Design II Compass Coffee canister window garden

Let me know if you check them out! If you have any other ideas for how I can re-use my canister collection, let me know in the comments as well. 

Follow

DIY, LIFE

2/18: DIY Tiny Space Art Studio

Desert 2 District Design II DIY art studio

DIY

Tiny Space Art Studio

Guys, I cannot tell you how excited I am to be checking this off of my 18 in 2018 list! Thank you, Gretchen Rubin, for the idea of creating this list because it has seriously motivated me to work on all kinds of things I have been putting off. I FINALLY have my own, dedicated art space and it is just such a joy. I had put this off for a long time because I didn't think we could possibly have space for me to have a "studio." We live in a 760 square foot, 1 bedroom condo in D.C., so I was pretty certain there was no chance. But, we had a blank wall leading into our bedroom. When I started painting bigger pieces that didn't fit on my music stand or kitchen table, I would sit on the floor there and lean the canvas against the wall and I started to think that I could really fit everything I needed right on this wall if I just used the space wisely. I am SO incredibly happy with the outcome. I love having my supplies accessible, but organized. I love just seeing this space every time I walk by. It keeps me motivated to paint every day and I look forward to being here at the end of each day so much. 

My husband and I (labor was 99% my husband, but I consider myself the brains behind this design) were also able to put this together in a weekend, so it was relatively simple. The total cost of supplies was around $120, and we have some extra wood from the shelf that we'll be using for upcoming projects. 

Desert 2 District Design II Tiny Space Art Studio

Desert 2 District Design II Tiny Space Art Studio

SUPPLIES

  • Wall-mounted drop-leaf desk (we purchased this one)
  • 2x6 board, cut to the length you want (ours is 32 inches)
  • 2 brackets and screws (we got these)
  • dowel, cut to the length of your shelf (we got a 3/4 inch wide dowel)
  • 3 screw eyes that fit around your dowel
  • S hooks that fit your dowel for hanging your supplies
  • sandpaper
  • sealer or wood stain

STEP 1

Mount your drop-leaf desk. I have seen projects to make your own, but given that it was relatively inexpensive, we decided to buy ours and followed the instructions that came with the packaging to install it. I like to work standing up so I had M mount it so I could comfortably reach everything while standing barefoot, but you could easily set yours up to chair height.

STEP 2

Gather your supplies and have the hardware store cut down your dowel and board to the length you want. 

Desert 2 District Design II Tiny Space Art Studio

Desert 2 District Design II Tiny Space Art Studio

STEP 3

Sand your board and apply a sealant. I just used some matte spray that I already had. You could also stain it if you prefer that look.

STEP 4

Mount your shelf, using the two brackets and screws. M pre-drilled the holes and then used an electric screwdriver to mount everything to the wall. He also used a level to make sure everything was even.

STEP 4

Screw the screw eyes into the bottom of the shelf where you want the bar to be. It helps to pre-drill these holes as well if you have an electric drill. Add the dowel. You should be able to slide it through easily.

STEP 5

Add the S hooks and your supplies. Now get creating!

Desert 2 District Design II Tiny Space Art Studio

Heading back to the studio...

See you soon!

Follow